Reverse engineering my monitor's KVM
Getting my new KVM to work on MacOS and Linux
2024-10-26
A couple weeks ago, I decided to upgrade my home office setup, in particular my monitor. I bought an MSI MAG 323UPF. For years, I've been searching for a multi-comptuer/KVM setup that works just the way I want it to, and this monitor has finally given me that... after a bit of effort.
The setup
I have a personal desktop and a MacBook for work. The monitor has a built-in KVM switch. The desktop connects to the monitor via DisplayPort and the USB-B port on the monitor, and the laptop connects via USB-C (with DisplayPort and Power Delivery). Then there's three remaining USB-A 2.0 ports for peripherals.
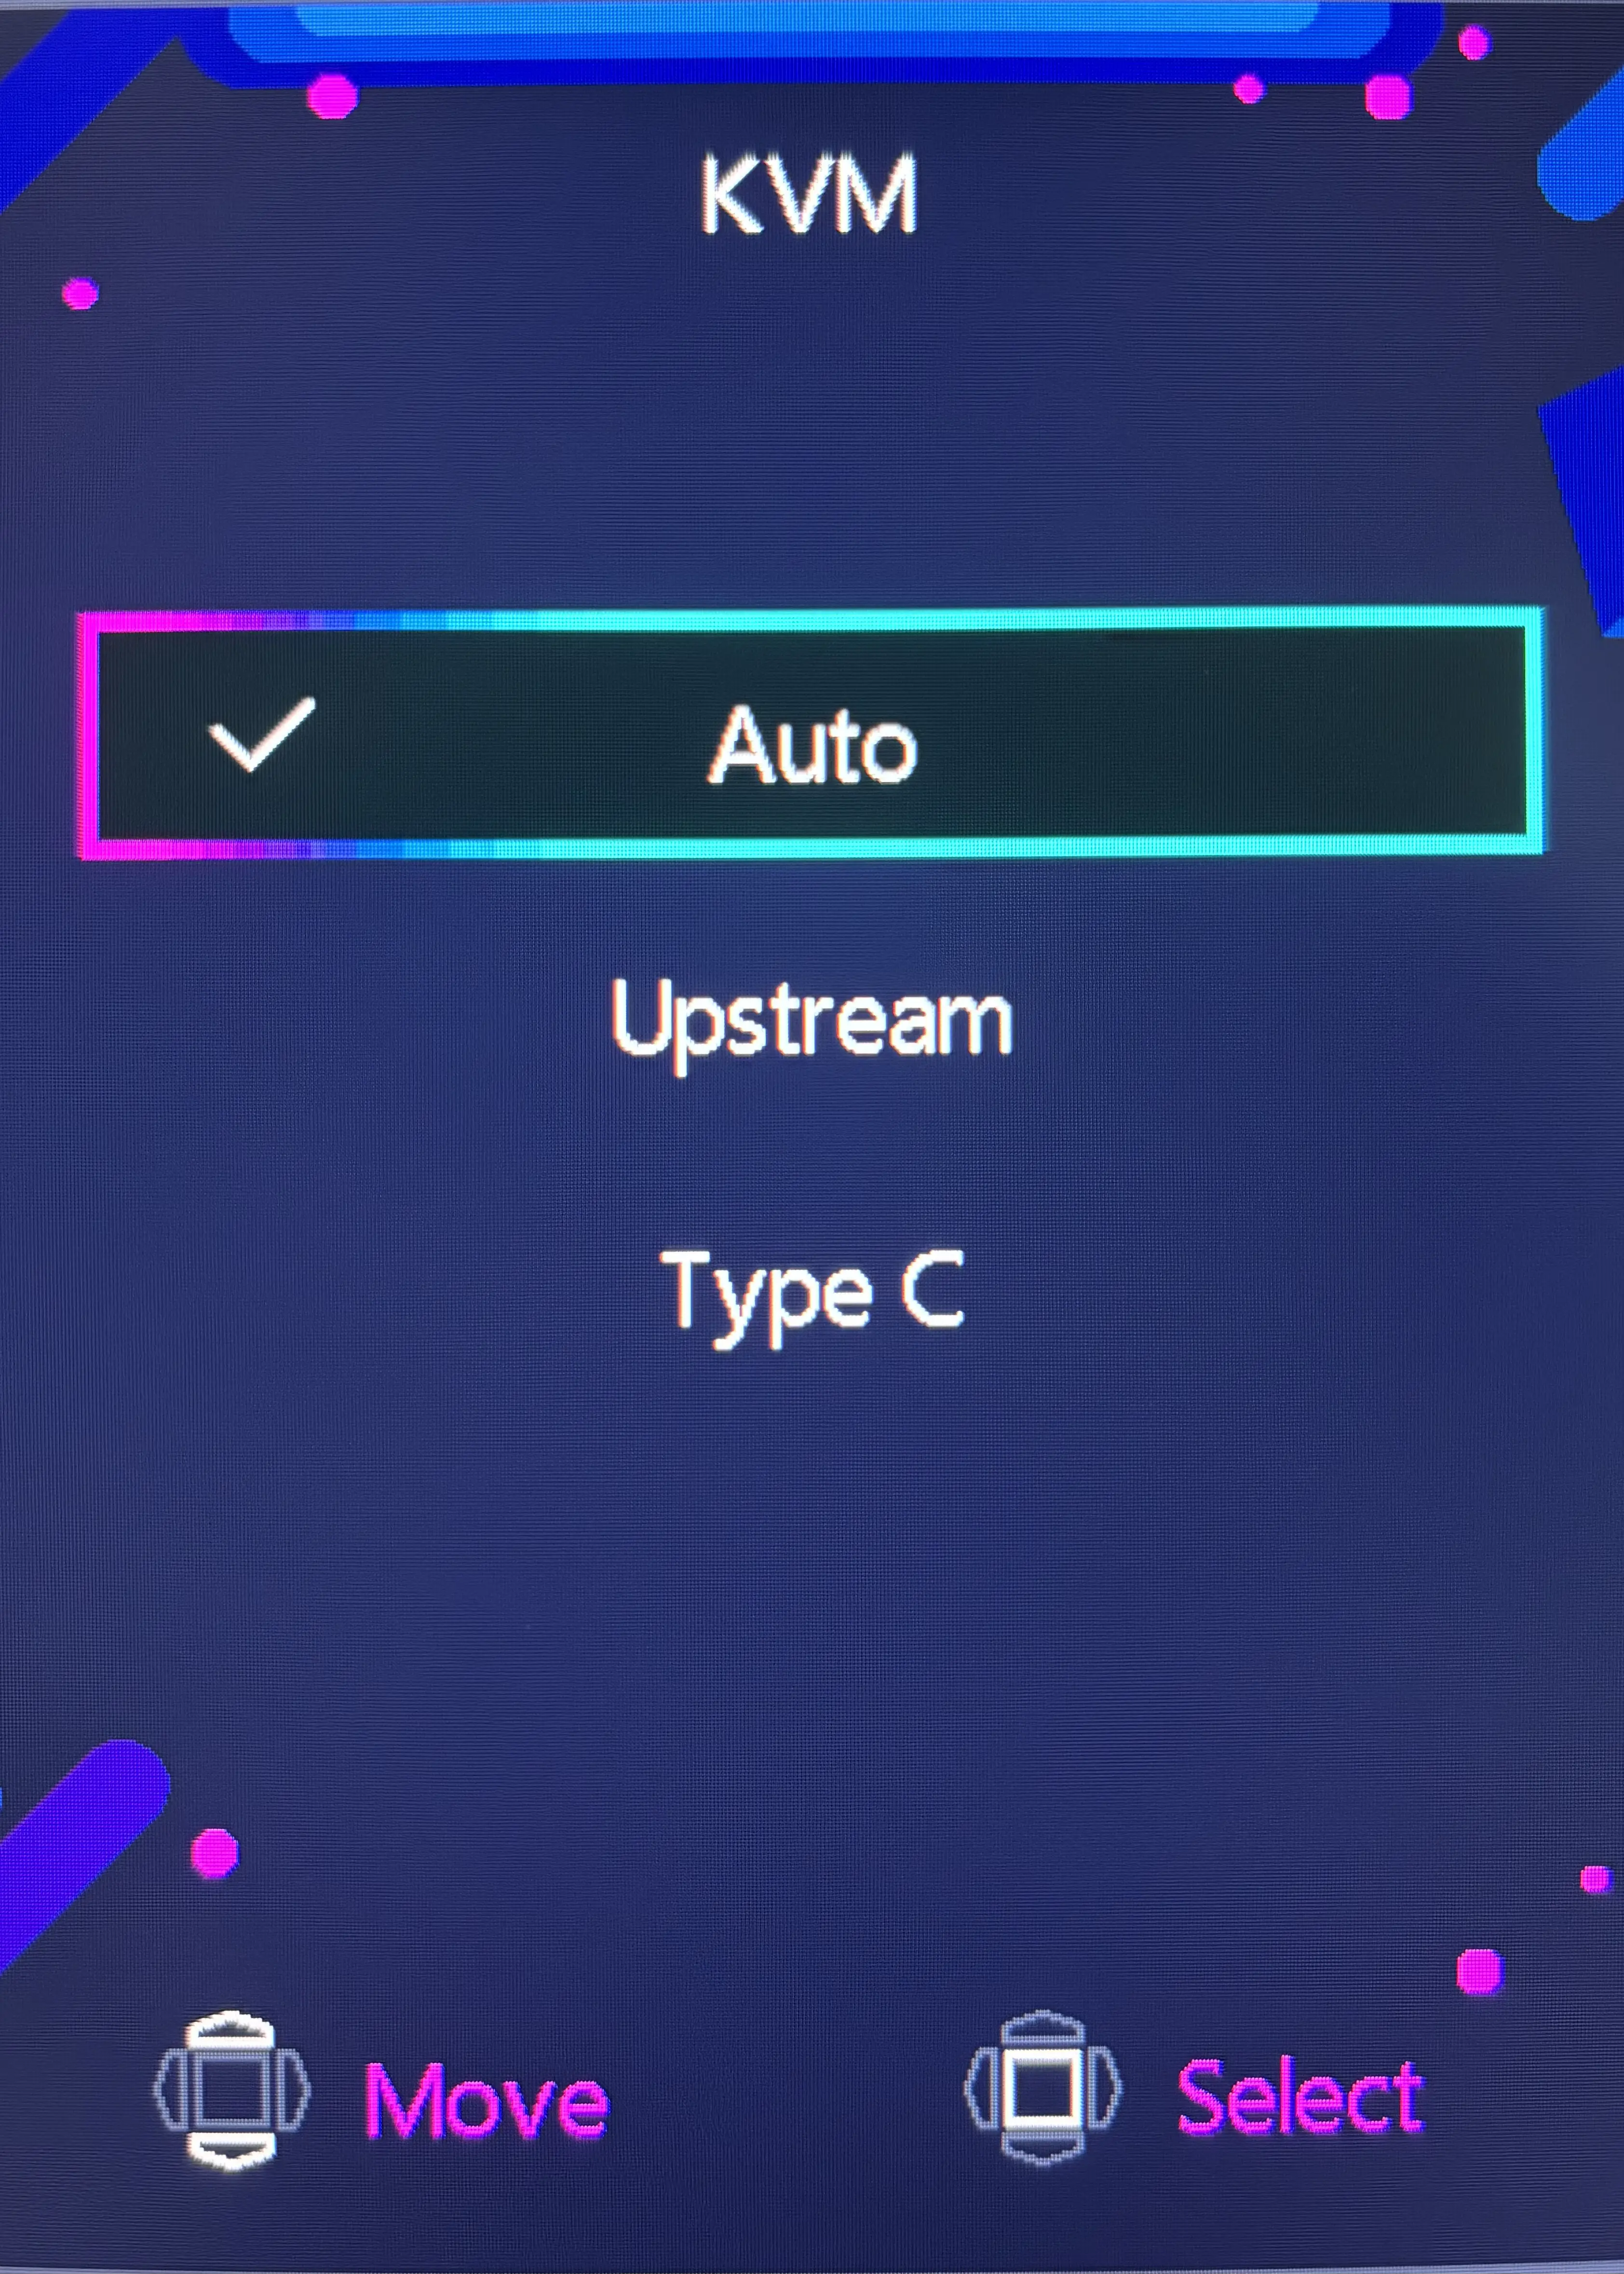
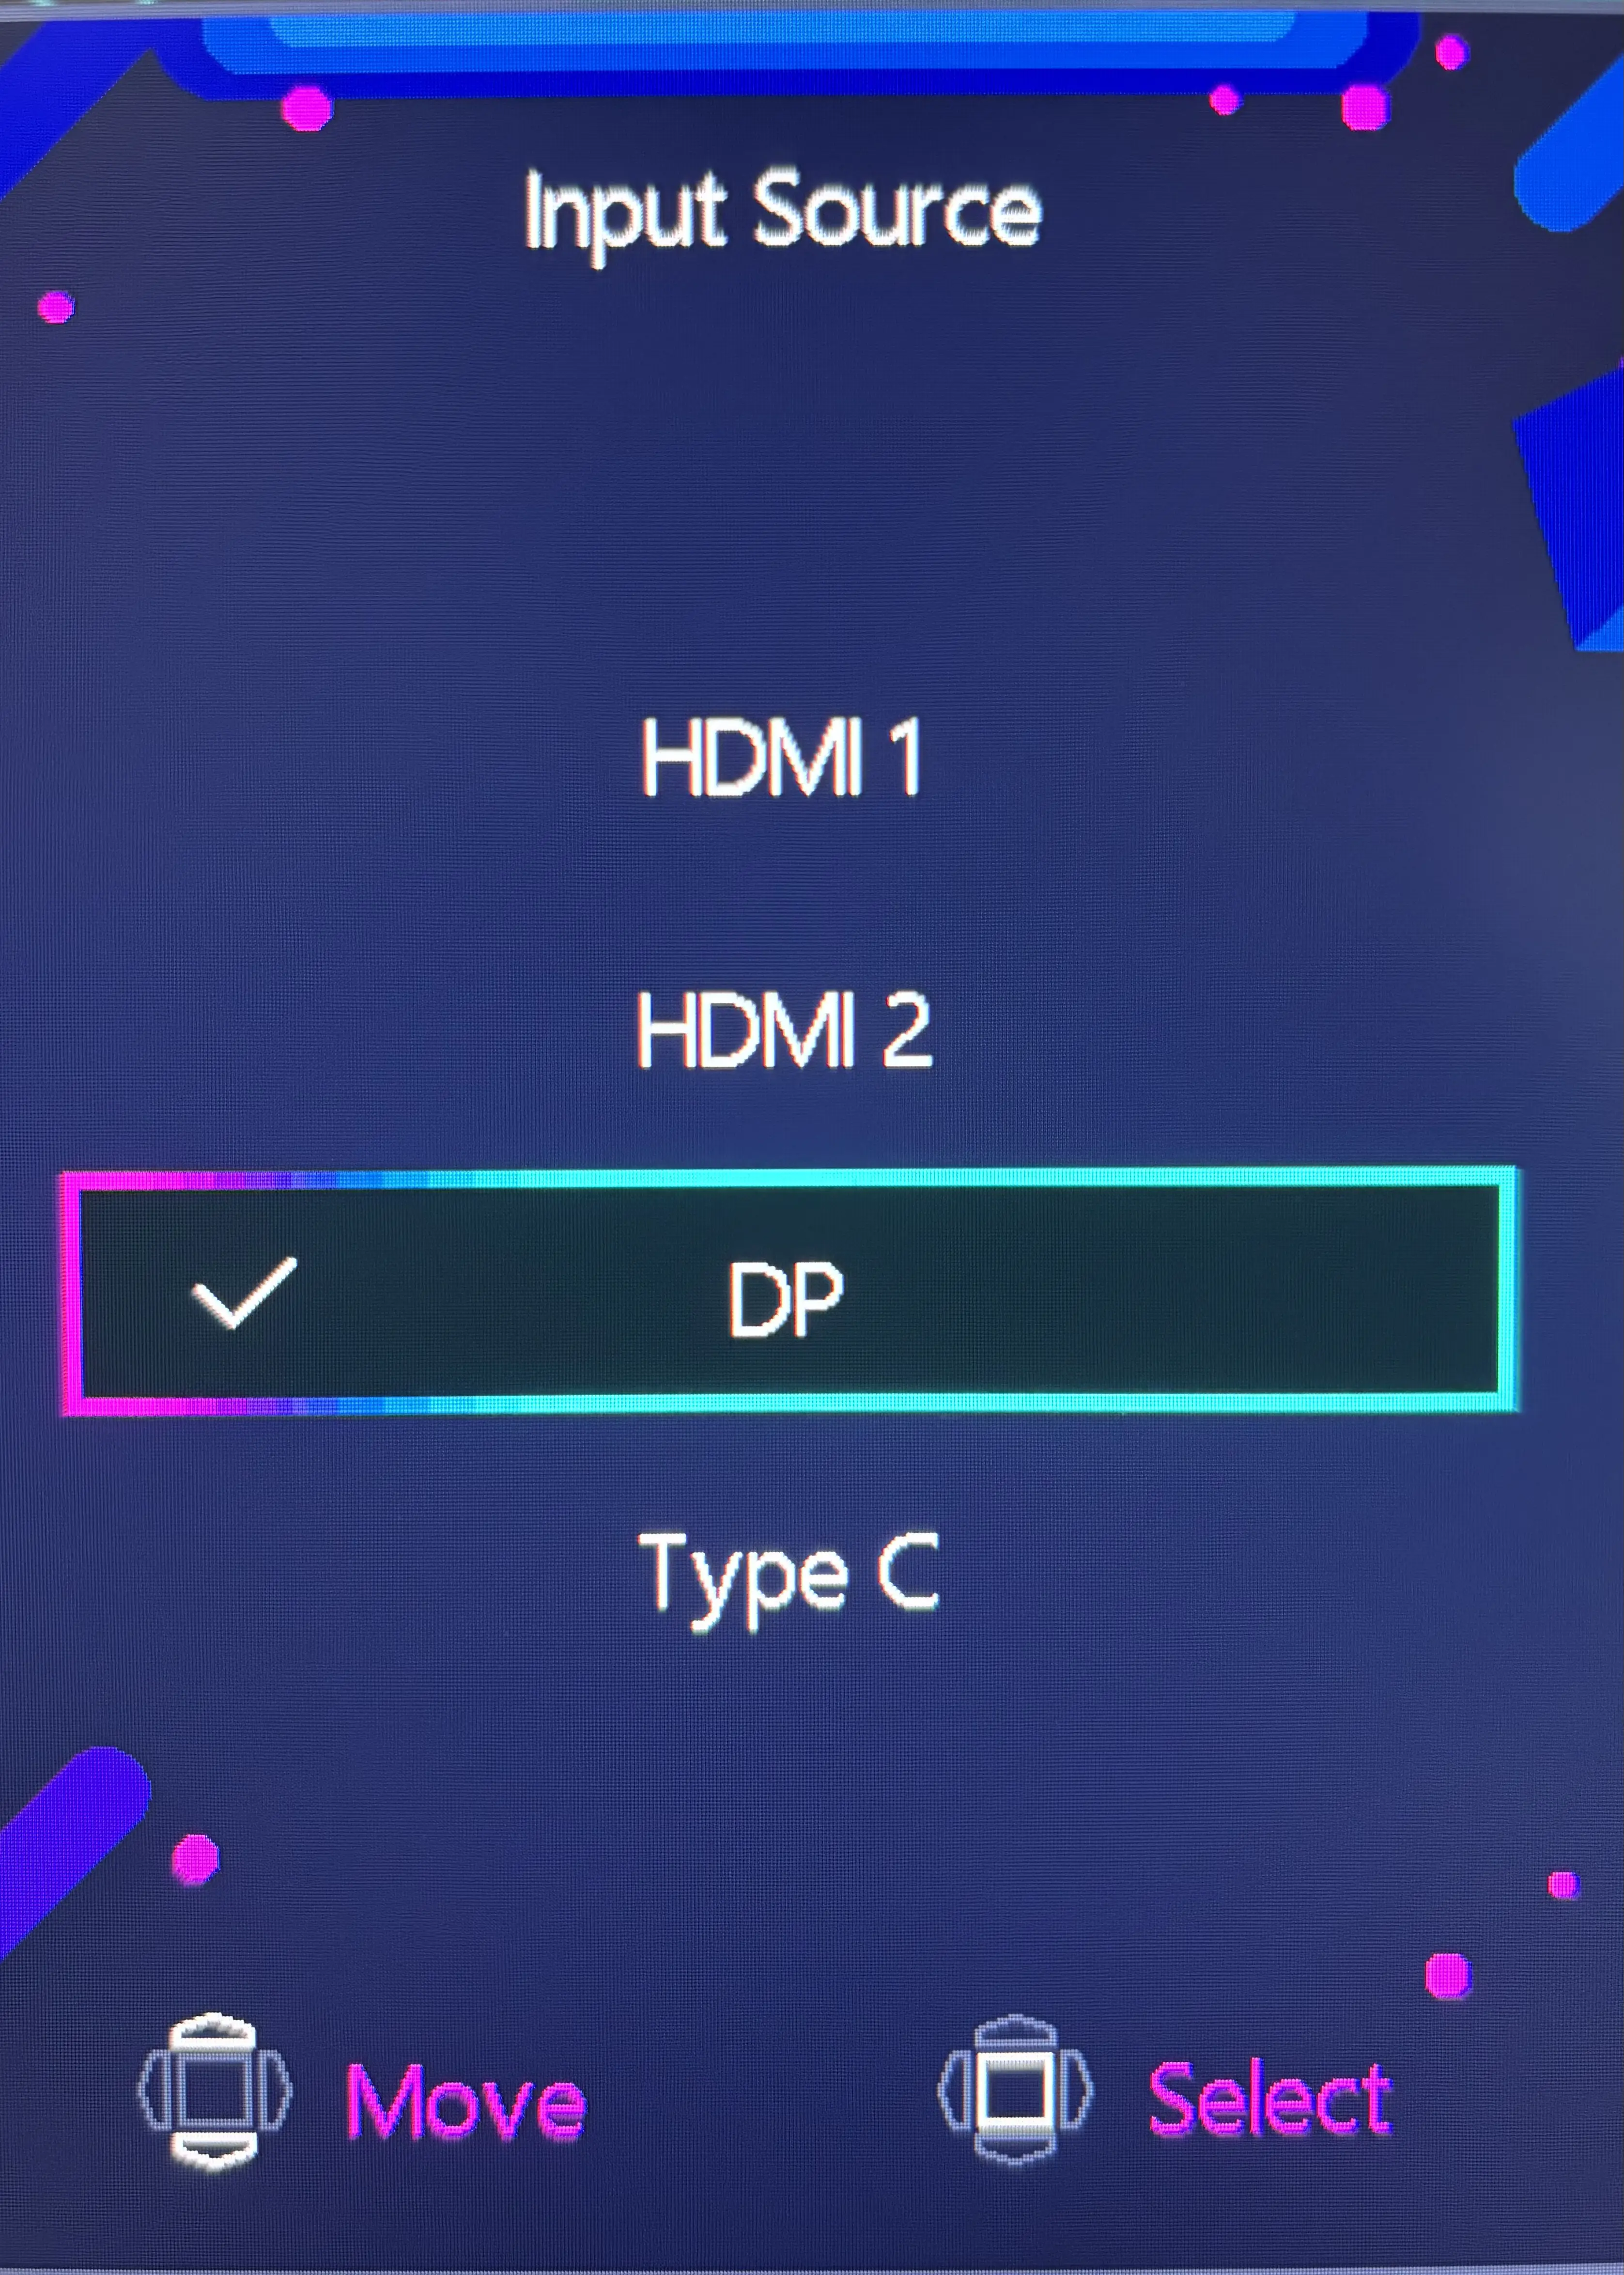
Out of the box, this setup already works nearly perfectly. I can permanently set the KVM mode to "Auto" which will make the USB inputs follow the input source. Then I can switch between my desktop and laptop using the monitor's On Screen Display (OSD) with just a couple of presses of the joystick on the back of the monitor:
- Press right to open the Input Source menu
- Press up/down to select DP or Type C
- Press in to confirm

The OSD KVM menu

The OSD Input Source menu
This works great! Except I noticed something...
The Button™️
There's a mystery button on the left side of the monitor! Pressing it seemingly does nothing. What could it possibly be for??
Actually, I do know what it's for, because I read some reviews of the monitor, but I find it extremely odd that, as far as I can tell, this button is mentioned no where in MSI's own material on the monitor. The manual mentions it only once, in a broad overview of the monitor, calling it the "Macro Key".
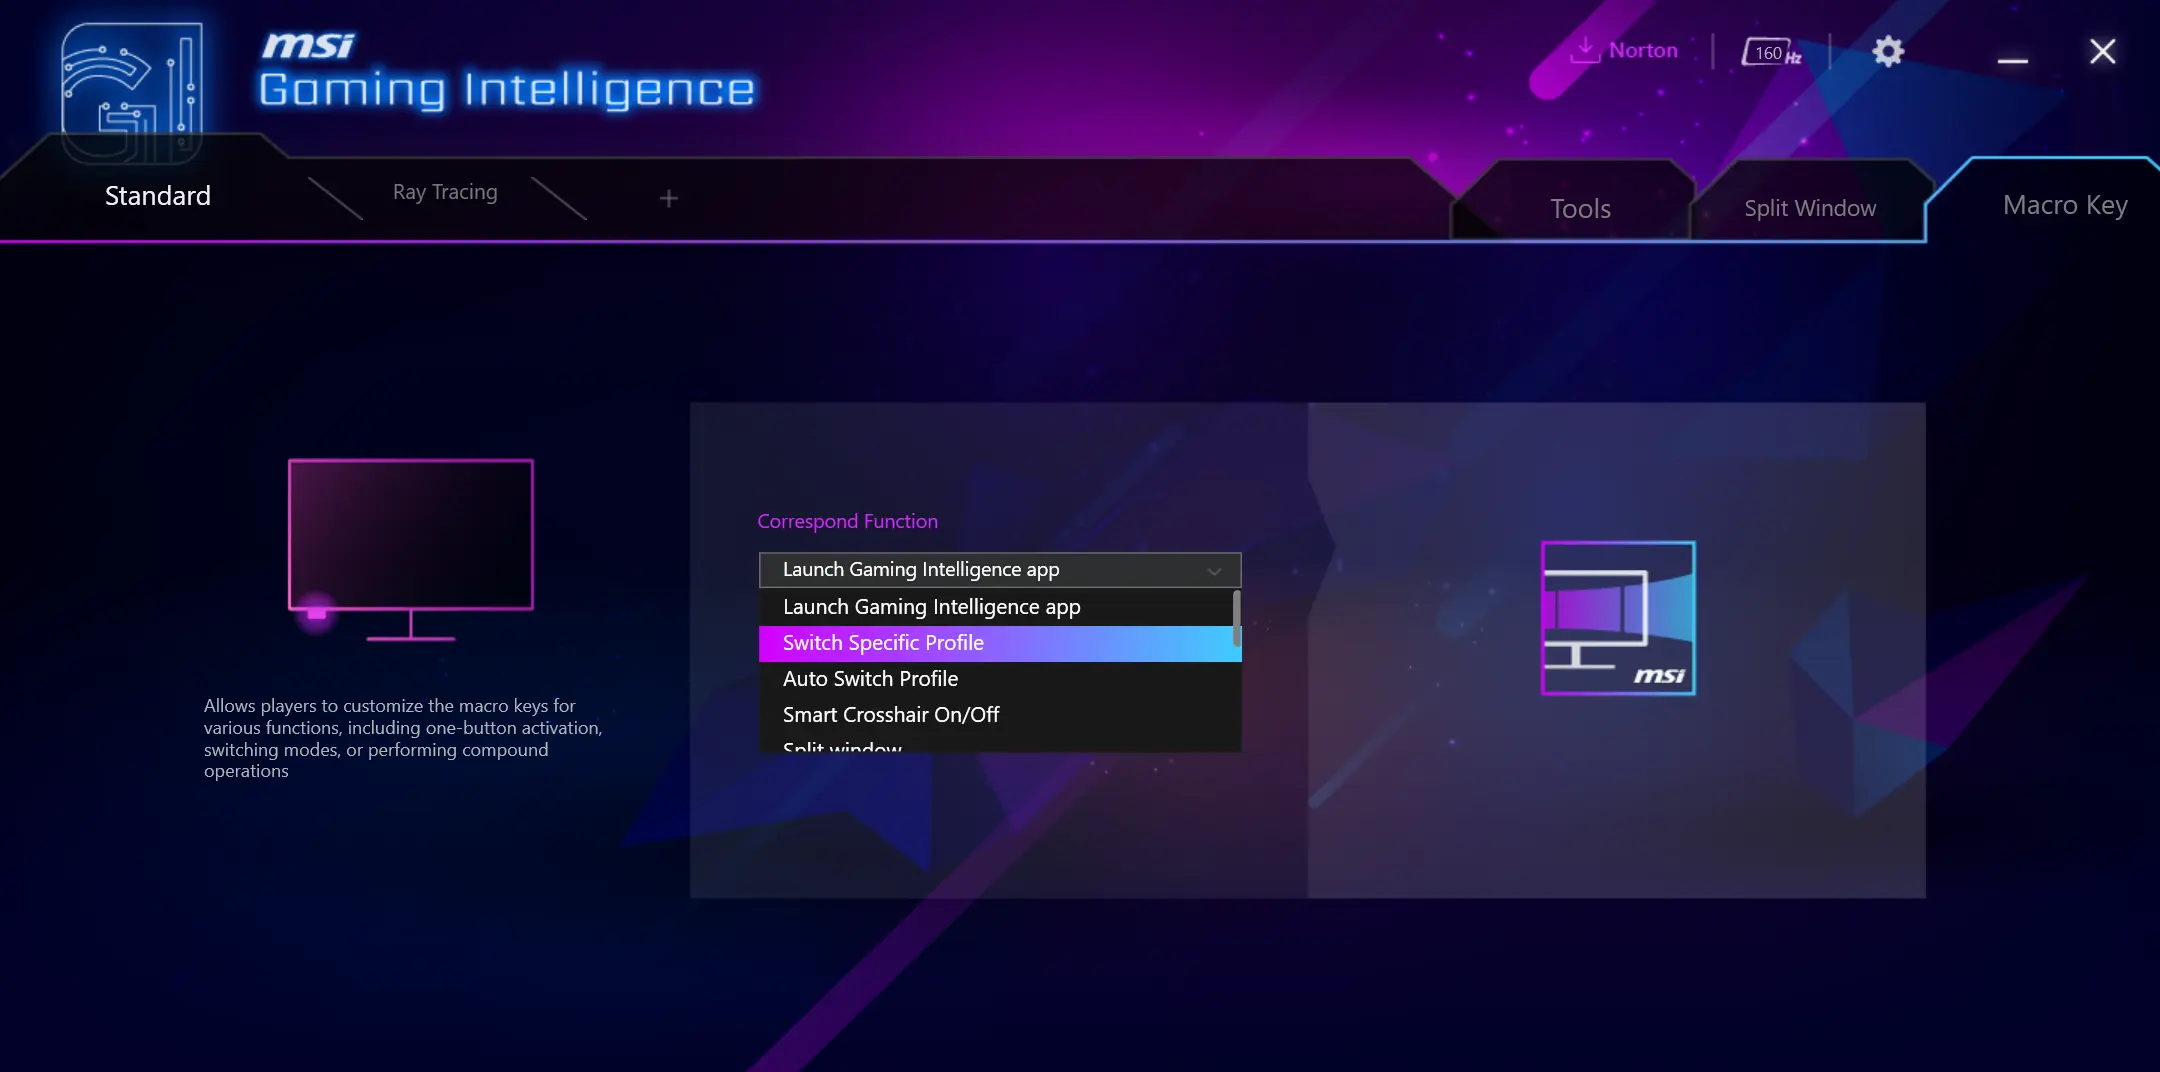
So what's it for? It's actually kind of neat! You can customize it to perform an action, picking from a list of actions of varying utility. Things like changing the display preset, or enabling an crosshair, or switcing the input source. Remember earlier I explained the arduous three-step process for switching the input. I can replace it with just one button! There's just one problem...
"""Gaming Intelligence"""
 The way you customize what the monitor's "Macro Key" does is via MSI's """Gaming Intelligence""" app. This app
of course only supports Windows which presents two problems:
- My Mac doesn't run Windows
- My desktop doesn't run Windows (I use NixOS, btw)
Aside: and it's not like I just need the software to customize the button and then it'll do that action from now on, regardless of the computer the monitor is connected to. No, since potential functionality includes things like "run a program", there has to be software running on the computer to handle that. If it were just a KVM button, then it could just be in the monitor's firmware, but whatever.
At this point, it would be natural to decide I just can't use the button, and resign myself to the admittedly very easy aformentioned three-step process for switching the input. After all, I bought the monitor knowing that I wouldn't be able to use """Gaming Intelligence""" and knowing that the button relied on that.
Reverse engineering the button
So anyways, I decided to figure out how the button works. At the end of the day, the software running on the computer is just communicating with the monitor over USB. I can write software that does the same thing. I just need to figure out what they're saying to each other. So I booted into my Windows partition, installed """Gaming Intelligence""", and fired up WireShark.
Which device?
First, we need to determine which device we're talking to. WireShark inserts
USB descriptor requests for every
device when capture begins. Looking through the responses, we find our answer: I bet it's the device vendored by
"Micro Star International" whose address is 1.7.0.

Of course, that address will change, so we're only relying on it to filter the USB traffic for the current session. If we were to reboot, for example, we would need to repeat the exercise to determine the new address.
Also note that the address being 1.7.0 means we are interested in traffic with any 1.7.x address. That's because you communicate
with a USB device via different endpoints
which have different addresses.
We also now have the device's Vendor ID (0x1462) and Product ID (0x3fa4) which will be useful later.
When is the button pressed?
Now let's figure out how to detect when the button is pressed. I filtered down to 1.7.x and observed the traffic:
This shows USB HID packets being sent between my computer and the monitor. It looks like the software is periodically sending a request and getting a response.
Example Request:
0000   1b 00 a0 e6 8a 26 06 c7 ff ff 00 00 00 00 09 00   .....&..........
0010   00 01 00 07 00 02 01 40 00 00 00 01 35 38 30 30   [email protected]
0020   31 31 30 0d 00 00 00 00 00 00 00 00 00 00 00 00   110.............
0030   00 00 00 00 00 00 00 00 00 00 00 00 00 00 00 00   ................
0040   00 00 00 00 00 00 00 00 00 00 00 00 00 00 00 00   ................
0050   00 00 00 00 00 00 00 00 00 00 00                  ...........
Example Response:
0000   1b 00 d0 90 e8 15 06 c7 ff ff 00 00 00 00 09 00   ................
0010   01 01 00 07 00 81 01 40 00 00 00 01 35 62 30 30   [email protected]
0020   31 31 30 30 30 30 0d 00 00 00 00 00 00 00 00 00   110000..........
0030   00 00 00 00 00 00 00 00 00 00 00 00 00 00 00 00   ................
0040   00 00 00 00 00 00 00 00 00 00 00 00 00 00 00 00   ................
0050   00 00 00 00 00 00 00 00 00 00 00                  ...........
The bodies of these messages are mostly opaque to me, but WireShark tells me that the
first 27 bytes are some kind of header, and the body is the remaining 64 bytes. So
really the request was 01 35 38 30 30 31 31 30 0d and the response was
01 35 62 30 30 31 31 30 30 30 30 0d. These are the same every time.
I've highlighted the responses with that body in red above. Now let's see what happens if we press the button a couple of times.
We get a response with a different body!
0000   1b 00 d0 90 e8 15 06 c7 ff ff 00 00 00 00 09 00   ................
0010   01 01 00 07 00 81 01 40 00 00 00 01 35 62 30 30   [email protected]
0020   31 31 30 30 30 31 0d 00 00 00 00 00 00 00 00 00   110001..........
0030   00 00 00 00 00 00 00 00 00 00 00 00 00 00 00 00   ................
0040   00 00 00 00 00 00 00 00 00 00 00 00 00 00 00 00   ................
0050   00 00 00 00 00 00 00 00 00 00 00                  ...........
Again, the part we're interested in is just 01 35 62 30 30 31 31 30 30 30 31 0d.
We can compare that with the response when the button is not pressed...
01 35 62 30 30 31 31 30 30 30 30 0d
01 35 62 30 30 31 31 30 30 30 31 0d
... and see that they differ in only a single bit, in the second-to-last byte (30 vs 31).
This must encode the button state.
To summarize, it seems like the way the software detects if the button is pressed is by periodically sending a request asking "was the button pressed?" and the monitor responds, with "yes" or "no" encoded in the response. We can write a simple Rust program using the hidapi crate that mimics this polling behavior and inspects the response to determine if the button was pressed.
fn main() {
  let api = hidapi::HidApi::new_without_enumerate().unwrap();
  let (vid, pid) = (0x1462, 0x3FA4); // from the descriptor!
  let device = api.open(vid, pid).unwrap();

  loop {
    let mut buf = [0u8; 65];
    buf[0] = 0x01;
    buf[1] = 0x35;
    buf[2] = 0x38;
    buf[3] = 0x30;
    buf[4] = 0x30;
    buf[5] = 0x31;
    buf[6] = 0x31;
    buf[7] = 0x30;
    buf[8] = 0x0d;

    device.write(&buf).unwrap();
    device.read(&mut buf).unwrap();

    if buf[10] == 0x31 {
        println!("BUTTON PRESSED");
    } else {
        println!("not pressed");
    }

    std::thread::sleep(std::time::Duration::from_secs(1));
  }
}
Switching the input
Now we need to know how to tell the monitor to switch inputs. To this point, I had set the button action to just open """Gaming Intelligence""" to simplify testing. It would have been very annoying to have the monitor switch inputs every time I pressed the button while testing, and it would've resulted in extra USB traffic to figure out. Well, now we need to figure it out. Setting the button action to "Switch the input to USB-C" and pressing it results in this USB traffic:

As before, we can see the polling before I press the button, the different response when I press it, and now a new request being sent to the monitor, highlighted in yellow:
0000   1b 00 10 20 d7 23 06 c7 ff ff 00 00 00 00 09 00   ... .#..........
0010   00 01 00 07 00 02 01 40 00 00 00 01 35 62 30 30   [email protected]
0020   35 30 30 30 30 33 0d 00 00 00 00 00 00 00 00 00   500003..........
0030   00 00 00 00 00 00 00 00 00 00 00 00 00 00 00 00   ................
0040   00 00 00 00 00 00 00 00 00 00 00 00 00 00 00 00   ................
0050   00 00 00 00 00 00 00 00 00 00 00                  ...........
I repeated this with the button action set to "Switch the input to DP" and saw that the request body differs slightly:
0000   1b 00 50 f3 01 26 06 c7 ff ff 00 00 00 00 09 00   ..P..&..........
0010   00 01 00 07 00 02 01 40 00 00 00 01 35 62 30 30   [email protected]
0020   35 30 30 30 30 32 0d 00 00 00 00 00 00 00 00 00   500002..........
0030   00 00 00 00 00 00 00 00 00 00 00 00 00 00 00 00   ................
0040   00 00 00 00 00 00 00 00 00 00 00 00 00 00 00 00   ................
0050   00 00 00 00 00 00 00 00 00 00 00                  ...........
Comparing them...
01 35 62 30 30 35 30 30 30 30 33 0d
01 35 62 30 30 35 30 30 30 30 32 0d
... we see that again they differ in only the last byte (33 vs 32). This must encode which input source to select.
We can adjust our Rust program to send this packet after detecing that the button is pressed:
  if buf[10] == 0x31 {
    println!("BUTTON PRESSED");
+  let mut buf = [0u8; 65];
+  buf[0] = 0x01;
+  buf[1] = 0x35;
+  buf[2] = 0x62;
+  buf[3] = 0x30;
+  buf[4] = 0x30;
+  buf[5] = 0x35;
+  buf[6] = 0x30;
+  buf[7] = 0x30;
+  buf[8] = 0x30;
+  buf[9] = 0x30;
+  buf[10] = 0x33; // or 0x32 for DP
+  buf[11] = 0x0d;
+  device.write(&buf).unwrap();
  } else {
    println!("not pressed");
  }
Conclusion
And... we're done! After some extra polish, I ran the program on both my desktop and laptop and it just worked!
The code is published here.
This was super satisfying and a fun little weekend project. I of course left out a lot of details and rabbit holes that went no where. It took me probably ~10 hours between a couple days to get something that worked. If we say it took me ~3 seconds with the old input-switching process, and ~1 second with the button, that means I only need to press it 18,000 times before the time investment starts paying off!! At a rate of a couple presses per day, that's somewhere between 16 and 25 years. But I had fun. 😄